


 Ho, ho, ho, Christmas party season is coming! Whether you’ve got office drinks
  As the leaves begin to fall, our thoughts are turning to cosy scarves, pumpkin l
  Pigtails burst onto the catwalk a couple of seasons ago and they’ve been a top
 Halloween hair horns tutorial
As the leaves begin to fall, our thoughts are turning to cosy scarves, pumpkin lattes - and our Halloween costumes. Have you decided what you want to be yet?
The beauty of these Halloween hair horns is how versatile they are. Add in the right makeup and they can be transformed into loads of Halloween looks. You could be a devil, a monster, a wolf, an ice queen, a witch’s cat or a dark woodland sprite. To name just a few!
The spooktacular Miss Alex is here to take you through the look...
You’ll need
-
Your hair extensions - as always!
-
Sectioning comb
-
Clear hair elastics
-
Hair grips
-
Hairspray
STEP 1 - Apply your wefts as usual
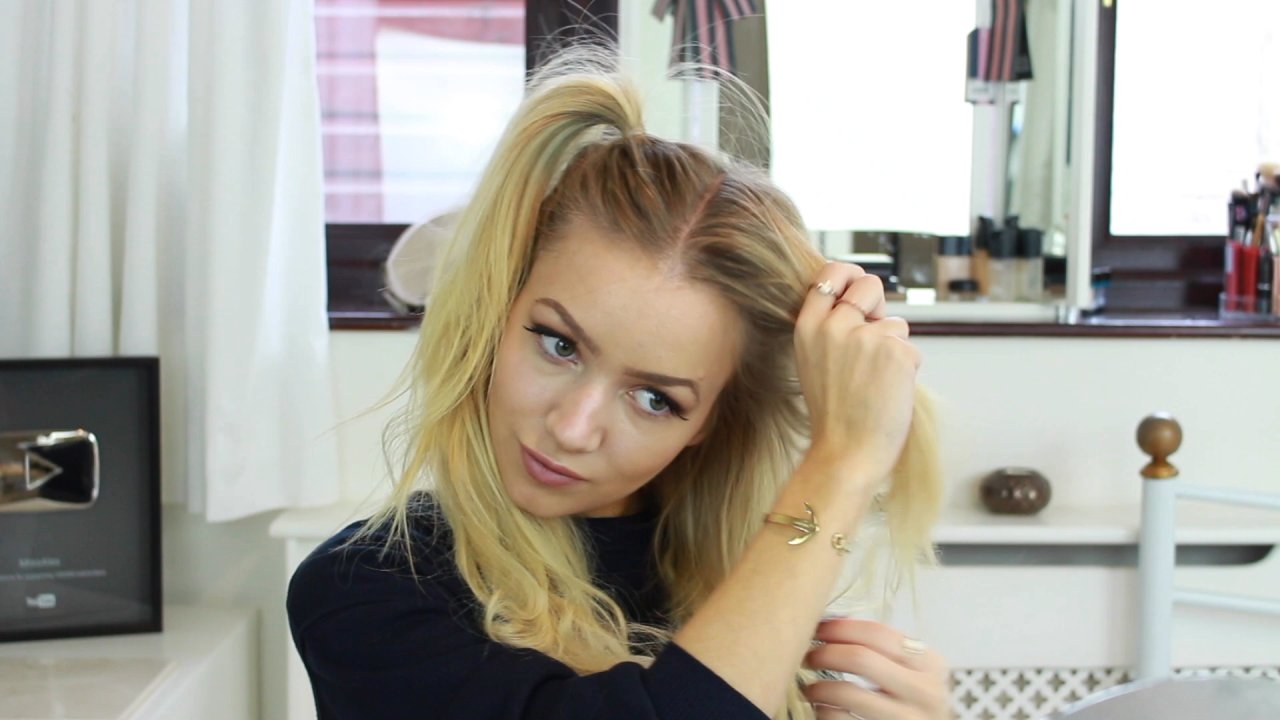
If you’ve used clip-in hair extensions before, just apply them as you usually would. Alex is using a 20 inch set in shade 613 but you can use whichever shade you like. If you’re new to Lush hair extensions, check out this earlier post to find out how to apply them like a boss.
Now create a centre parting by tracing a line up from your nose with your comb.
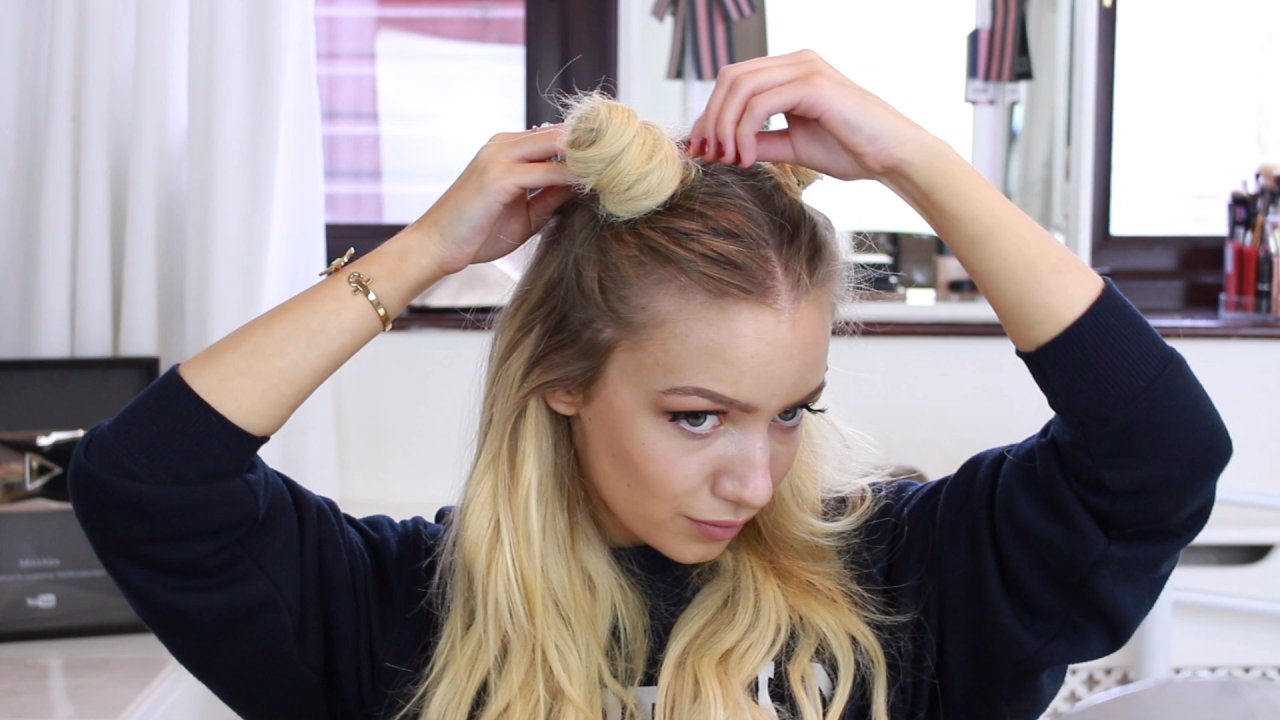
STEP 2 - Create two small ponytails
To get started creating your hair horns, take a section of hair just above one ear and gather it up into a half ponytail on top of your head. Tie it off with clear hair elastic.
Next, gather up a similar-sized section on the opposite side of your head and create another ponytail. Try to make sure your ponytails are the same height as each other to avoid a lopsided horn situation.
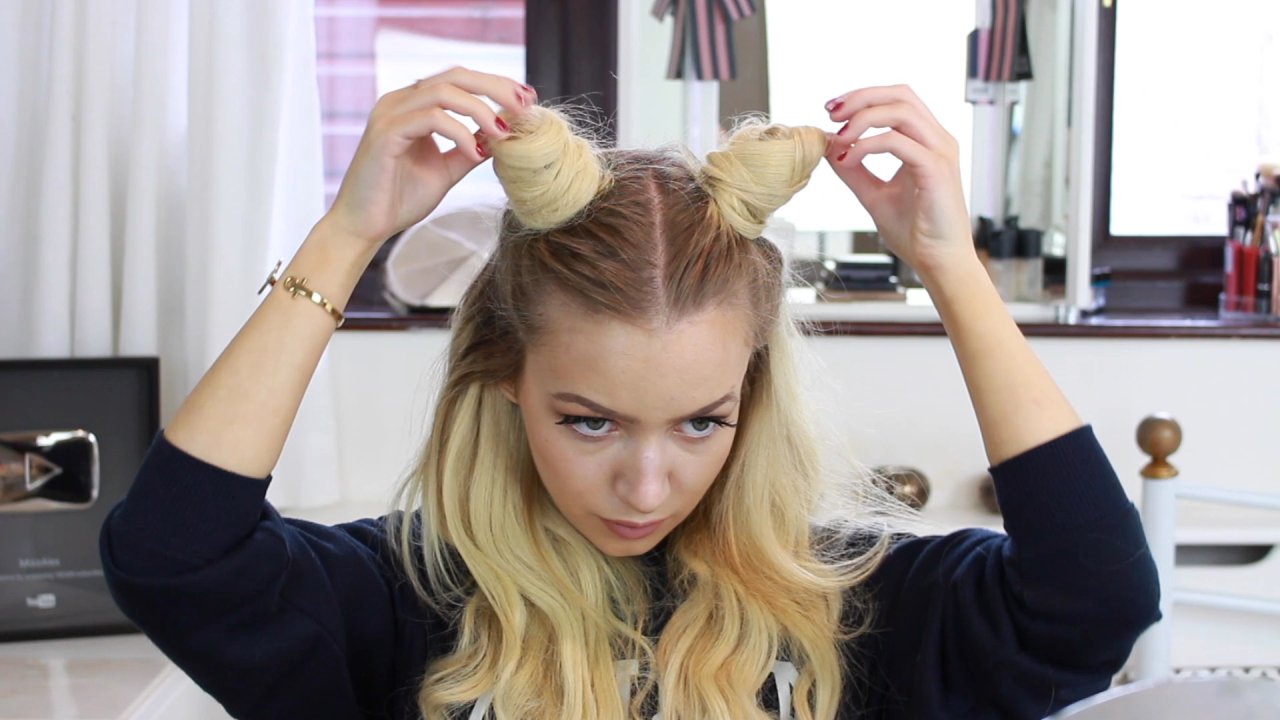
STEP 3 - Twist your ponytails into horns

To turn these little ponytails into horns, you need to twist the ends of one ponytail and then wrap it around the base to create a bun. Grab some hair grips and secure it in place.
Do the same with the other ponytail. Don’t faff about making them perfect at this stage. You’re about to cover them up with some wefts.
STEP 4 - Fold your two-clip wefts
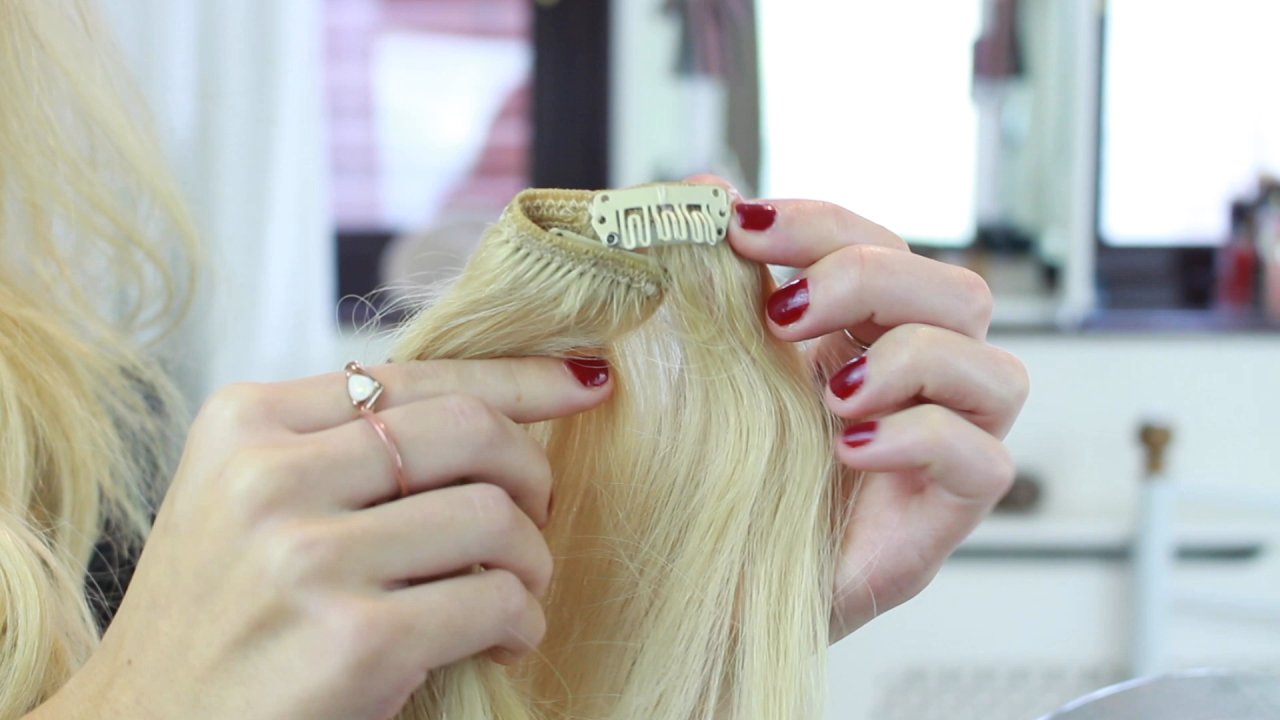
Take a two-clip hair weft and fold it in on itself so that just one clip is showing.
Do the same with another two-clip weft. Check out the video if you’re not sure how to do this.
STEP 5 - Add extra wefts to your horns
Now take one of your folded two-clips and simply attach it to one of your horns. Wrap the weft around the horn to give it a more dramatic look. Secure it in place with some hair grips.
Repeat the process on the other side of your head and use your fingers to gently shape your horns until you are happy with them.
STEP 6 - Finishing touches
To complete the look, just add some texture to the loose hair at the sides of your head by gently backcombing it. Then give everything a good blast of hairspray if you think you need it.
And that’s it! Your fabulous Halloween hair horns are ready to become part of your best ever costume - the only limit is your imagination.
Happy Halloween!
If you’ve got any questions or tips you’d like to share, either leave a comment below or hit us up on Twitter, Facebook, Instagram or YouTube
